Understanding .NET Clean Architecture Flow
Building scalable, maintainable, and testable software is a constant challenge for developers. The .NET Clean Architecture pattern provides a clear
Understanding .NET Clean Architecture Flow Read Post »
Building scalable, maintainable, and testable software is a constant challenge for developers. The .NET Clean Architecture pattern provides a clear
Understanding .NET Clean Architecture Flow Read Post »
A vital comprehension of artificial technologies and their related concepts is essential in the ever changing world of AI developments.
12 Key AI Concepts Explained: LLMs, RAG, Prompt Engineering & More Read Post »
When working with multiple LLM providers, managing prompts, and handling complex data flows — structure isn’t a luxury, it’s a
Generative AI Project Structure: Best Practices for Scalable LLM Systems Read Post »

1. Introduction Overview of AI & ML in .NET Artificial Intelligence (AI) and Machine Learning (ML) are transforming software development,
The Future of .NET: AI & Machine Learning Secrets Revealed! Read Post »
Introduction: Witness the Titans of AI in 2025 The titans of the AI world in 2025 are GPT-5, Gemini 2,
2025’s AI Titans: Meet the Game-Changers Now! Read Post »

Introduction: The Revolution of Coding Using AI Technologies With the incorporation of artificial intelligence (AI) technologies into the coding ecosystem,
77% of Developers Now Use AI: Here’s Exactly How It’s Changing Coding Forever Read Post »
OpenAI CEO Sam Altman Announces o3 Release Plans While Pushing Back GPT-5 Timeline OpenAI has confirmed plans to release its
OpenAI’s New Plan: o3 Release First, GPT-5 Delayed – What It Means for AI Read Post »
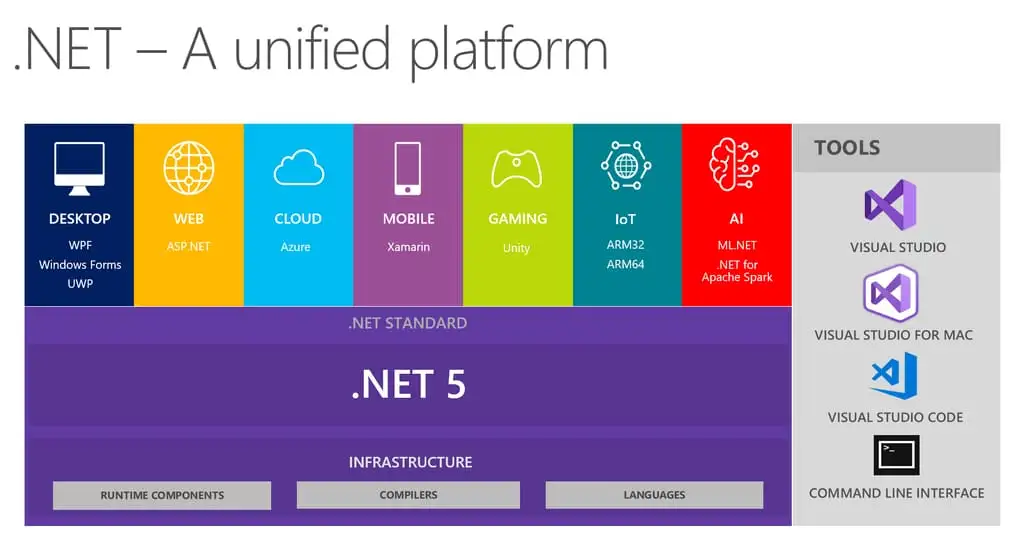
.NET Framework 1.0 (2002) .NET Framework 1.1 (2003) .NET Framework 2.0 (2005) .NET Framework 3.0 (2006) (Adds new components but runs
.NET Framework Versions and Key Features Read Post »
Amazon has reportedly placed a last minute bid to acquire Tik Tok’s business as a whole, according to a new
Amazon reportedly submits last-minute bid to acquire TikTok Read Post »
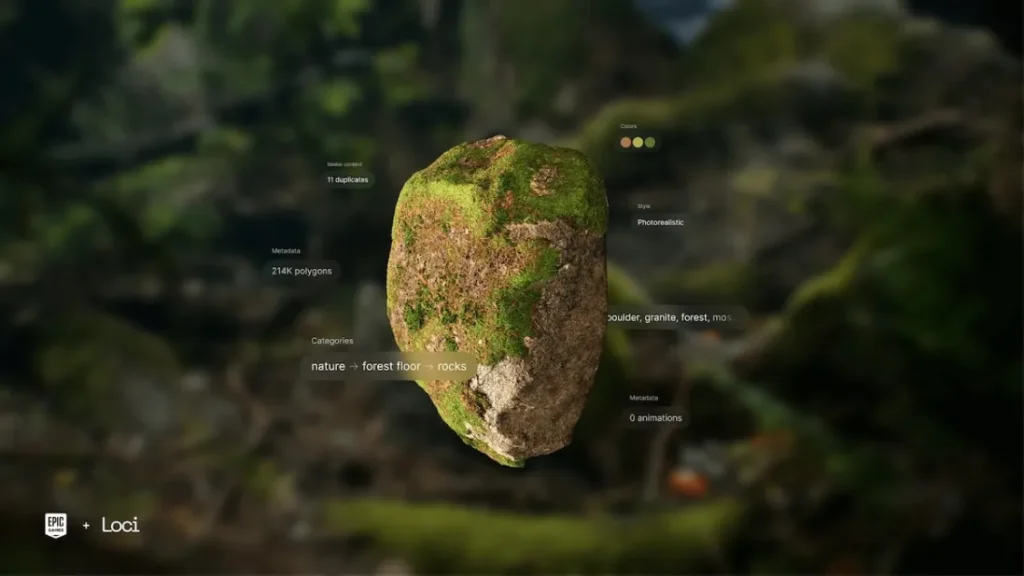
Epic Games explained on Wednesday that it had purchased Loci, an AI platform that specializes in tagging 3D assets. This
Epic Games purchases Loci to launch automated 3D tagging feature Read Post »
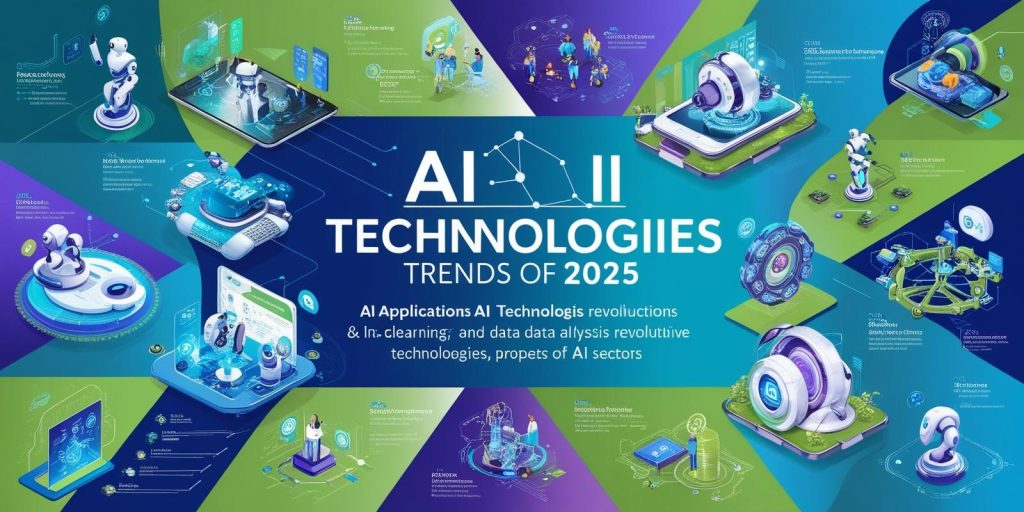
Table of Contents Introduction The future of innovation for a multitude of sectors will be transformed by the power of
AI Technologies Trends 2025: Revolutionizing the Future of Innovation Read Post »